What You’ll Build
We’ll create a clean single-page website with a hero section, about section, services grid
and a contact area. You can later expand it into multiple pages.
- Structure your page with semantic HTML.
- Style it with modern, responsive CSS.
- Upload everything to real hosting using your own domain.
⏩ Want the Fastest Shortcut?
If you don’t want to write all the HTML/CSS yourself, use an
AI Website Builder to generate a complete site and then edit its code later.
Try it instantly:
Hostinger AI Website Builder
Step 1
Set Up Your Tools & Folder Structure
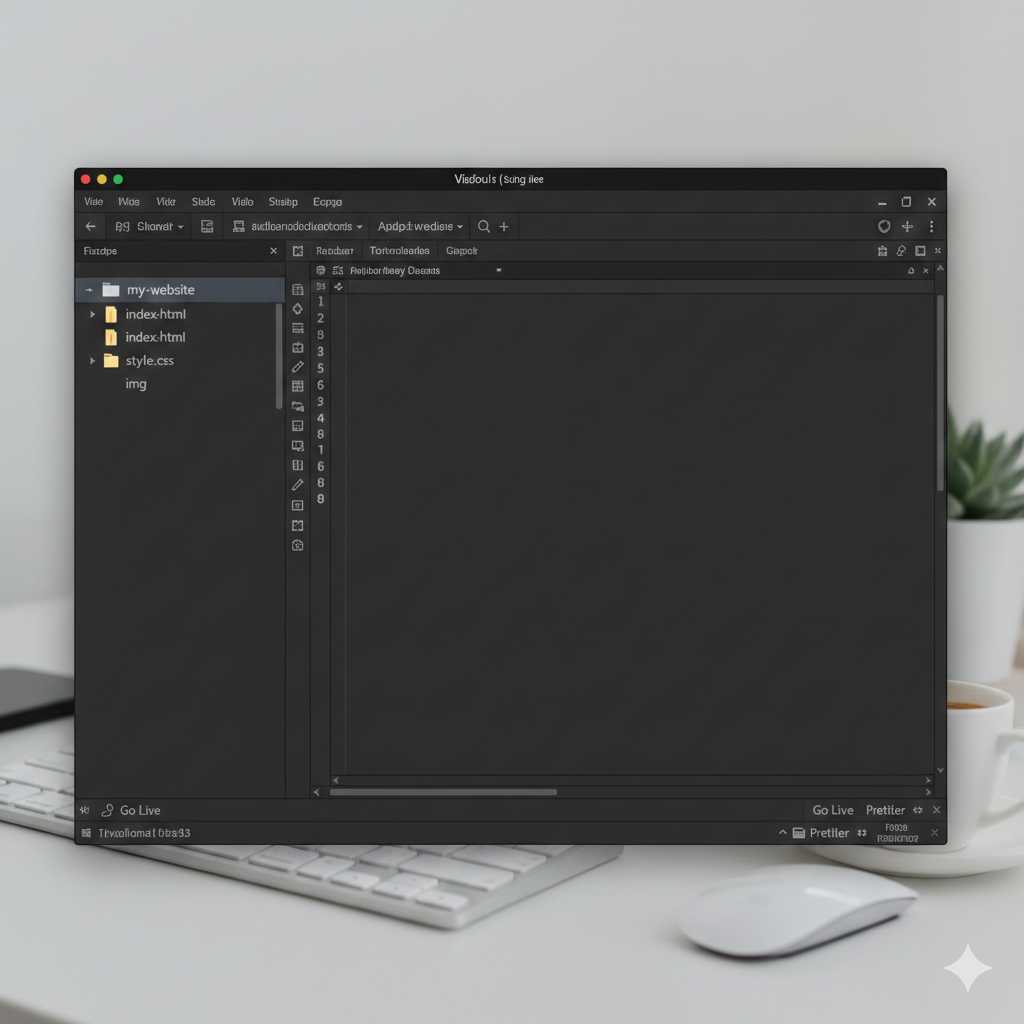
First, prepare a simple development environment on your computer.
- Install a code editor like VS Code, Sublime Text, or Notepad++.
- Create a folder on your desktop, e.g.
my-website.
- Inside it, create:
index.html – your main pagestyle.css – your stylesimg – a folder for images
Idea
Step 2
Plan Your Layout on Paper
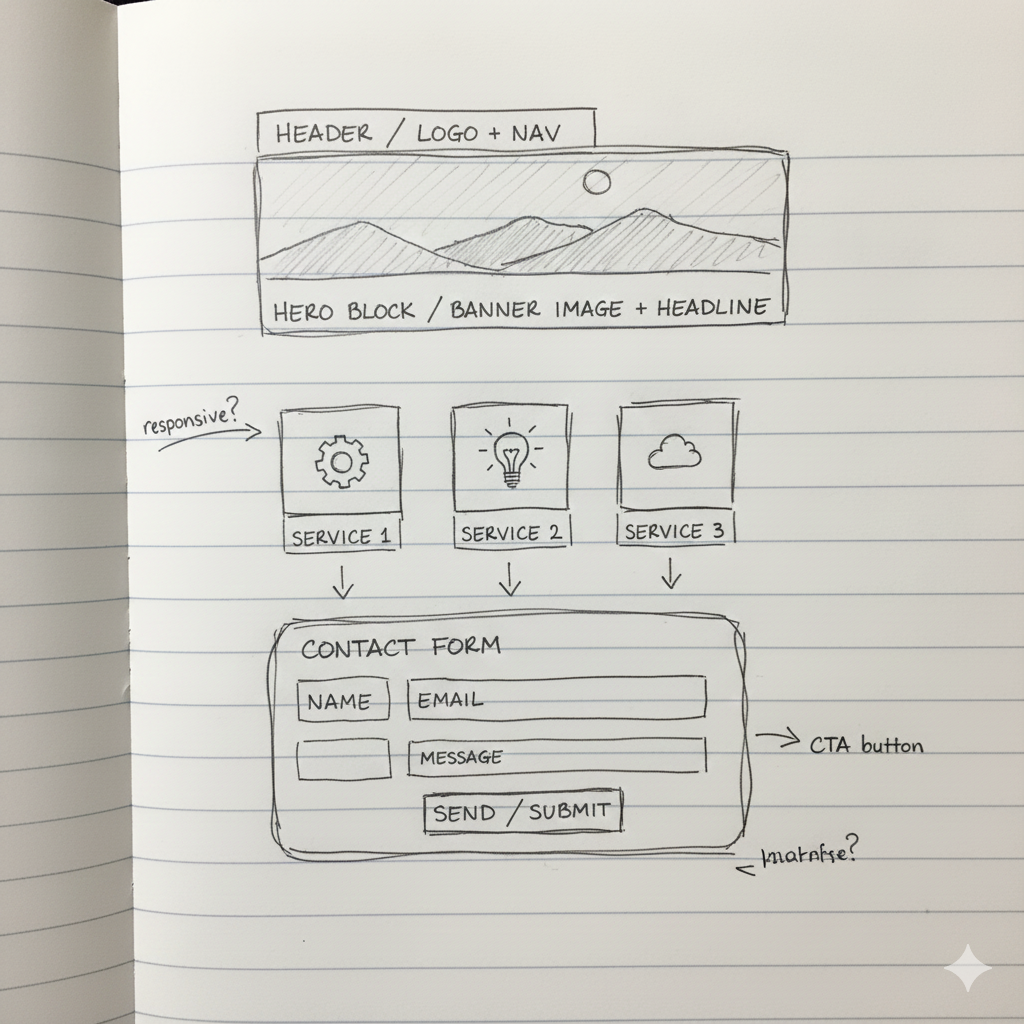
Don’t jump into code yet. Sketch a simple layout so you know what you’re building:
- Top navigation with logo and menu links.
- Hero section with headline, sub-headline and a call-to-action button.
- About / services section in two or three columns.
- Contact section with a small form or contact details.
idea
Step 3
Write the Basic HTML Skeleton
Open index.html and add the basic HTML5 structure:
<!DOCTYPE html>
<html lang="en">
<head>
  <meta charset="UTF-8">
  <meta name="viewport" content="width=device-width, initial-scale=1.0">
  <title>My First HTML & CSS Website</title>
  <link rel="stylesheet" href="style.css">
</head>
<body>

  <header>...</header>
  <main>...</main>
  <footer>...</footer>

</body>
</html>
This links your future CSS file and gives the browser everything it needs to render your page correctly.
idea
 ”.
”.
Step 4
Add Real Content Sections (Header, Hero, About, Contact)
Inside the <body>, replace the dots with real sections:
- Header: logo text & navigation links.
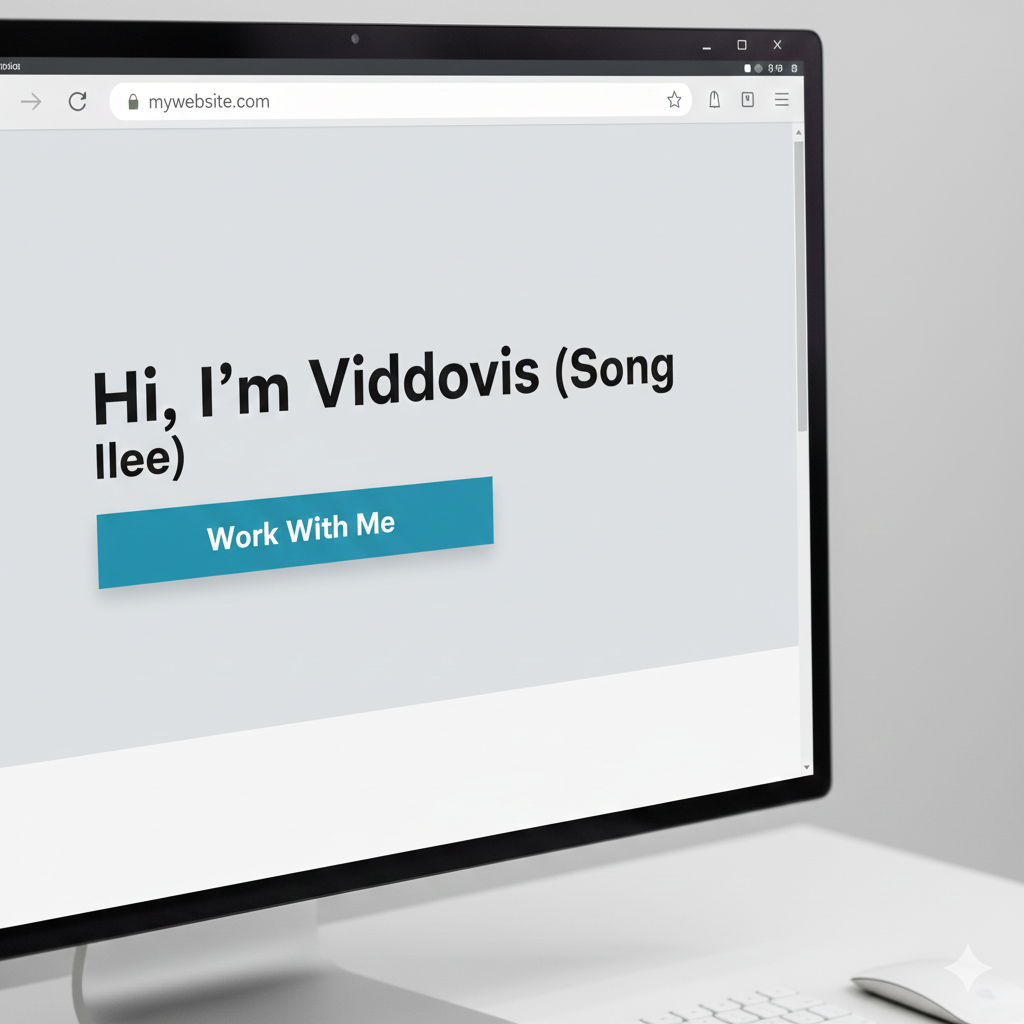
- Hero: a big headline, short description, and a CTA button.
- About / Services: a short paragraph and 3 feature boxes.
- Contact: email, phone, or a simple contact form layout.
Use semantic tags like <section>, <nav>, <h1>–
they make your code easier to read and better for SEO.
idea
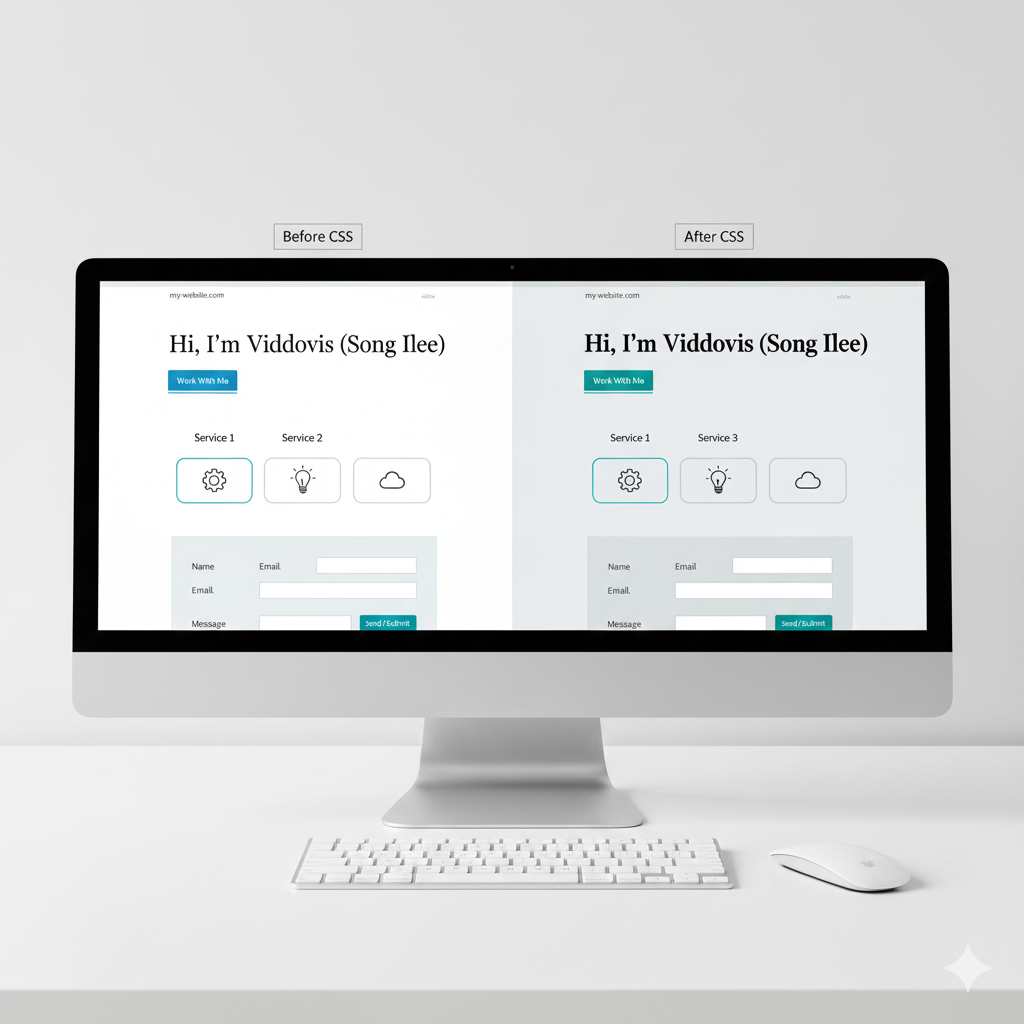
Step 5
Style Your Page with CSS (Typography & Colours)
Now open style.css. Start with some global styles:
* { box-sizing: border-box; margin: 0; padding: 0; }
body {
  font-family: system-ui, -apple-system, sans-serif;
  line-height: 1.6;
  color: #0b1020;
  background: #f4f7fb;
}
a { color: inherit; text-decoration: none; }
Then style your main sections: set max-width, center the content, choose a color palette and add padding / margins.
idea
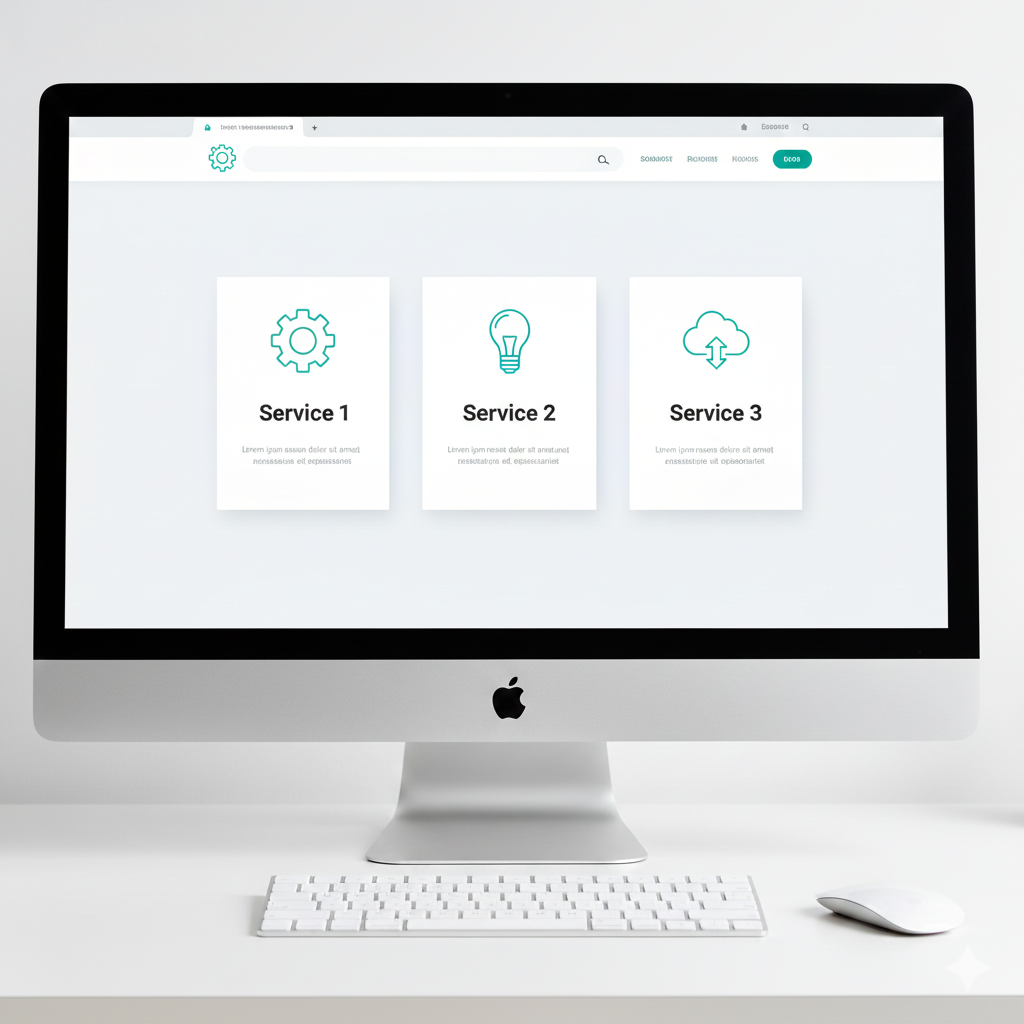
Step 6
Create Layouts with Flexbox or CSS Grid
- Use Flexbox for navigation bars and horizontal layouts.
- Use CSS Grid for service cards or gallery sections.
.services {
  display: grid;
  grid-template-columns: repeat(3, minmax(0, 1fr));
  gap: 20px;
}
.service-card {
  background: #ffffff;
  padding: 16px;
  border-radius: 12px;
  box-shadow: 0 10px 24px rgba(15,23,42,0.06);
}
Idea
A three-column services section with simple icons and headings,
each card slightly elevated with a soft drop shadow.
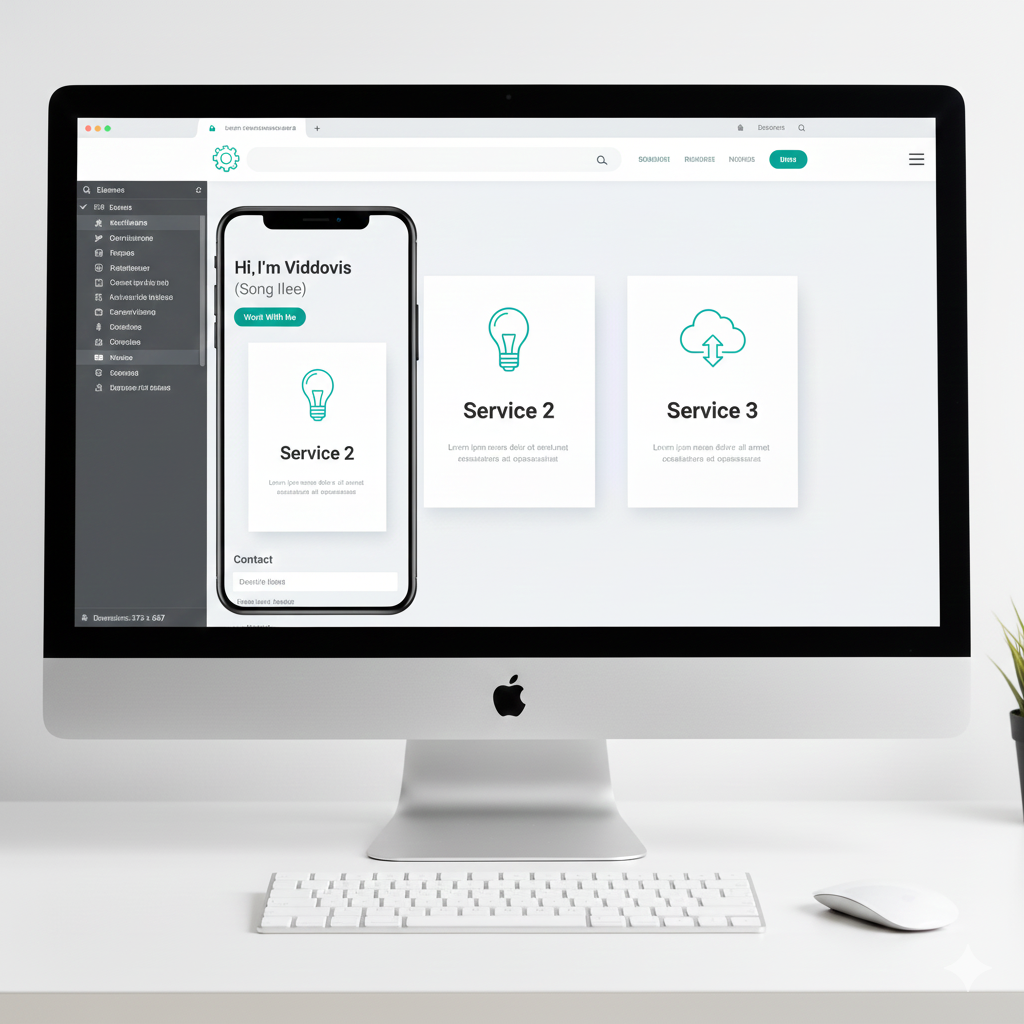
Step 7
Make It Responsive for Mobile
Finally, ensure your site looks great on phones too. Use a media query:
@media (max-width: 768px) {
  .services {
    grid-template-columns: 1fr;
  }
  header nav ul {
    flex-direction: column;
  }
}
Test your site on your phone or using the browser’s responsive preview.
Check that text is readable, buttons are easy to tap, and nothing overflows the screen.
Idea
Step 8
Buy Hosting, Upload Your Files & Go Live
When your site looks good locally, it’s time to put it online:
- Purchase a hosting plan and domain (for example, from Hostinger).
- Inside your hosting dashboard, open the File Manager.
- Upload
index.html, style.css, and your img folder
into the public_html directory.
- Refresh your domain – your coded site should now be live on the internet.
🌐 Get Hosting & Upload My HTML Site
Idea

Bonus
Use AI to Generate Starter HTML & Then Learn from It
If you ever get stuck with design, use an AI website builder to generate a layout,
export the HTML/CSS, and then open the code in your editor to learn how it works.
It’s like getting a done-for-you template plus a free coding lesson.
🤖 Try AI Website Builder for Ideas
Idea